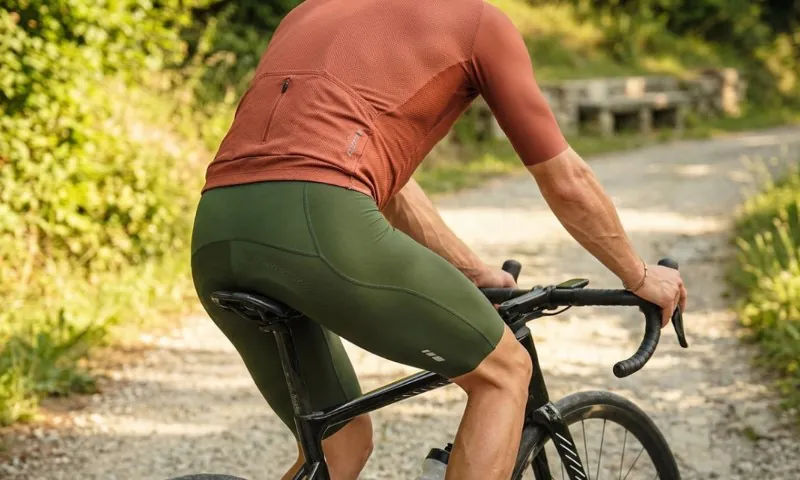
Fiddling with bike components often sparks anxiety, especially when a task seems a bit unfamiliar. Removing pedals might initially feel like stepping into unfamiliar territory, but it is quite simple task.
No mechanical heroics required—just patience, a couple of common tools, and a few insider tricks. I broke down pedal removal into manageable segments, so that anyone from an everyday commuter to a devoted racer can handle the process with calm assurance. Let’s get right into it.
Distinguishing Right And Left Pedals

The right (drive) side pedal always employs a standard right-hand thread. Tightening that pedal happens with a clockwise rotation, and loosening happens counterclockwise. The left (non-drive) side pedal behaves differently.
The left pedal’s threading is reversed, meaning that tightening happens counterclockwise and loosening happens clockwise.
Essential Tools For The Job
Not every tool is created equal, and pedal removal becomes easier with the correct equipment.
Basic tools from a home toolbox might suffice, though certain specialized implements transform the process into something smooth and frustration-free.
1. Wrenches And Hex Keys
A dedicated pedal wrench offers a slender profile designed specifically for narrow flats on pedal axles. A standard open-end wrench might feel too thick, making the job awkward.
If certain pedals feature a hex socket at the back of the axle, an Allen key (often 6mm or 8mm) can be inserted there. In many cases, a single pedal wrench can handle traditional pedals, while a hex key works wonders on modern clipless styles.
2. Proper Lubricants And Their Role
Threads benefit greatly from a thin layer of grease or anti-seize compound. When reinstalling pedals, applying a bit of lubrication helps prevent corrosion and galling.
The result: next time removal is required, those pedals come off without a battle. Consider it a small investment in future convenience.
Preparation Steps

A bit of forethought goes a long way. Before tackling pedal removal, arranging the workspace and taking simple safety precautions makes life easier.
There is no need to wrestle with crank arms in cramped conditions or leave knuckles vulnerable to sharp chainrings.
Protecting Hands And Preventing Accidents
By shifting the chain onto the largest chainring, a convenient shield appears. That ring acts like a guard protecting the hand from nasty scrapes if a tool slips.
Wearing sturdy gloves adds another layer of safety. Reducing the risk of injury turns the job from a tense chore into a calm, controlled experience.
Stabilizing The Bicycle
An upright position on solid ground keeps the bike stable. Working on a stand is fine, but placing the bike on the floor, leaning slightly against a wall, or holding it firmly between the knees works well.
Steadiness ensures that force applied to the wrench translates directly into loosening the pedal, rather than toppling the entire setup.
A Step-By-Step Guide To Removing Pedals
Focus on positioning, tool placement, and force application:
1. Positioning Crank Arms For Optimal Leverage
For the right pedal, rotate the crank arm so it points forward, roughly in the 3 o’clock position. For the left pedal, aim for a 9 o’clock angle.
By setting the crank arms horizontally, there is enough space to apply the wrench or hex key efficiently, resulting in better leverage and reduced strain on the body.
2. Engaging The Tool Correctly
If using a pedal wrench, align it with the pedal flats snugly. If a hex key is required, insert it fully into the hex socket. Ensuring a proper fit is vital.
A wrench that slips or a hex key that sits at an angle risks damaging precious threads or rounding off tool contact points.
3. Applying Force Without Damage
For the right pedal, push the tool downward, turning counterclockwise to loosen. On the left pedal, push downward as well, but in a clockwise direction due to the reversed thread.
Gravity and body weight help here—pressing down with controlled firmness usually requires less brute strength than pulling upward. Those few degrees of mechanical advantage make all the difference.
4. Completing The Removal
Once the pedal breaks free, continue turning it by hand until it unscrews completely. Keep track of any washers or spacers between pedal and crank.
After removal, clean the threads on both crank and pedal. A wipedown makes reinstallation cleaner and smoother.
Overcoming Obstacles

Occasionally, pedals refuse to budge. Sweat beads may form on the forehead, and frustration may bubble up. No need to panic. A few strategic approaches often solve the problem without damaging costly components.
Applying Penetrating Oil
When faced with a pedal that resists all attempts at loosening, a few drops of penetrating oil can work wonders.
Apply it to pedal threads and wait a few minutes, allowing the solution to seep in. Afterwards, try loosening again.
Additional Leverage Techniques
If force applied by a standard wrench or hex key feels insufficient, consider adding a piece of pipe over the wrench handle to extend the lever arm.
Greater leverage often breaks loose even the most stubbornly seized pedal. Move methodically and apply force gradually—no need to cause sudden jerks that could strip threads or damage crank arms.
Reinstalling Pedals The Right Way

Removal is only half the story. Eventually, pedals must return to their rightful place. Properly installing them sets the stage for easier removal next time, along with smoother rides in the interim.
Cleaning And Preparing Threads
Before screwing pedals back in, wipe the threads on both the crank and the pedal axle. Remove any old grease, grit, or metal shavings. Clean threads promote better contact and prevent small foreign objects from grinding away at valuable surfaces.
Applying Grease For Easy Future Removal

A dab of grease or anti-seize compound on pedal threads ensures that months—or even years—later, removing pedals won’t cause headaches.
That small effort now saves enormous trouble down the line. Metal parts can bond over time if installed dry, so a thin lubricant layer is insurance against future frustration.
Over-Tightening Prevention
Some worry about pedals coming loose during rides and instinctively turn them far too tight. Although pedals must be firmly installed, excessive torque makes removal tougher next time.
A stable hand and moderate strength is sufficient. When in doubt, consult a torque specification from the manufacturer or simply tighten to a secure feel without going overboard.
Safety Precautions And Additional Tips

No one wants a trip to the emergency room over a simple bike repair job. Keep safety in mind, select high-quality tools, and approach pedal removal calmly.
Protective Gear For Personal Safety
Wearing gloves protects knuckles from unexpected slips and provides better grip on tools.
Eye protection might sound excessive for such a simple task, but tiny metal shavings occasionally dislodge, so safety glasses are never a bad idea. A little caution goes a long way.
Choosing Quality Tools
Investing in a proper pedal wrench is a decision that pays for itself. A robust, bicycle-specific tool fits pedals perfectly and grants more leverage without slipping.
Hex keys of high quality maintain a solid grip, reducing the likelihood of stripping bolts. Good tools often last a lifetime, making them worthwhile additions to any cyclist’s maintenance kit.
Summary
Taking pedals off no longer needs to feel intimidating or mysterious. Armed with a better grasp of proper threading, a decent tool selection, and a few clever tricks, the process evolves into a straightforward routine.
Overcoming fear of mechanical tasks on a bicycle builds an empowering sense of independence. Instead of making appointments at a bike shop for every small tweak, riders can address small maintenance issues personally.