You know the feeling when your bike’s gears just aren’t shifting right? It can turn a smooth ride into a frustrating one. Getting your derailleur adjusted properly makes all the difference.
Let’s walk through how to make those adjustments so you can enjoy seamless gear changes on your next ride.
What’s Going on With Your Derailleur?
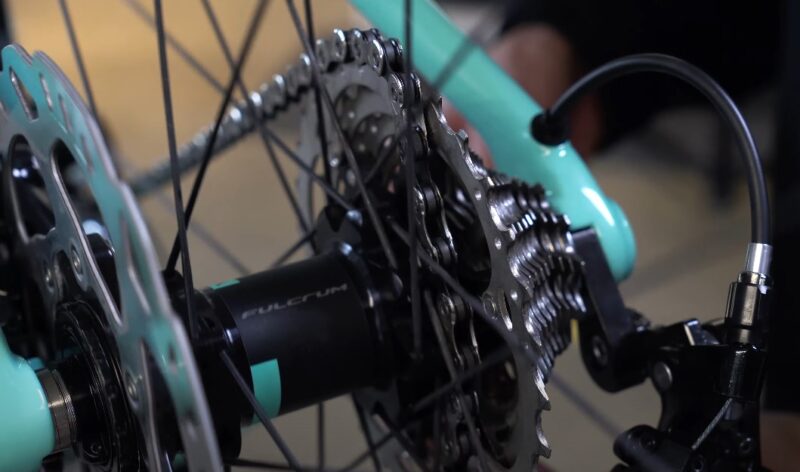
Before we get into the nuts and bolts of adjustment, let’s quickly chat about how the derailleur works. The derailleur is a nifty little device that moves your bike’s chain between gears.
There are two types: the front derailleur, which handles the front chainrings, and the rear derailleur, which deals with the cassette at the back. Each derailleur has some key components you’ll be tinkering with:
- Limit Screws: These prevent the chain from going too far and slipping off the gears.
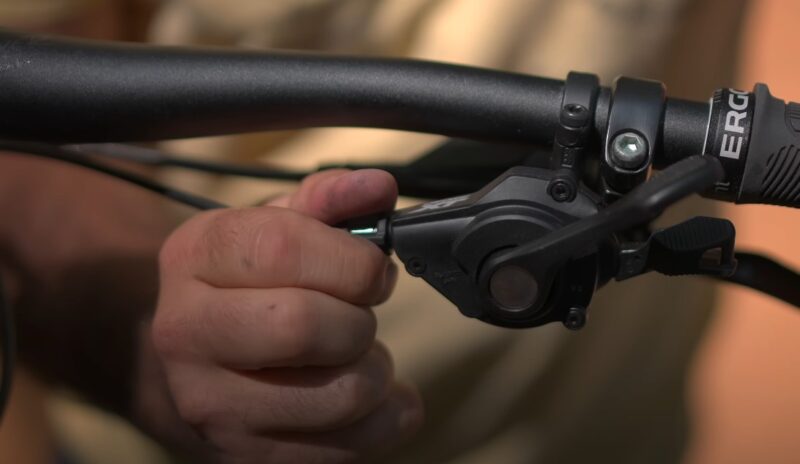
- Barrel Adjuster: Used for fine-tuning the cable tension, which is crucial for precise shifting.
- Derailleur Hanger: This part of the frame holds the derailleur. If it’s bent, your shifting won’t be smooth.
- Cable Tension: This controls how much the derailleur moves when you shift gears.
Getting Started & Adjusting Your Rear Derailleur
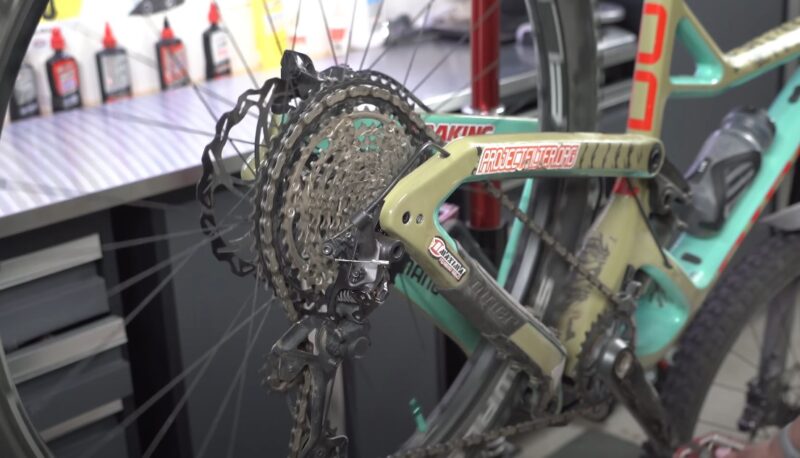
1. Check the Derailleur Hanger
Before touching anything else, stand behind your bike and eyeball the derailleur hanger. If it’s bent, your shifting will be off no matter how much you adjust everything else.
If it looks crooked, a derailleur hanger alignment tool is your best option here.
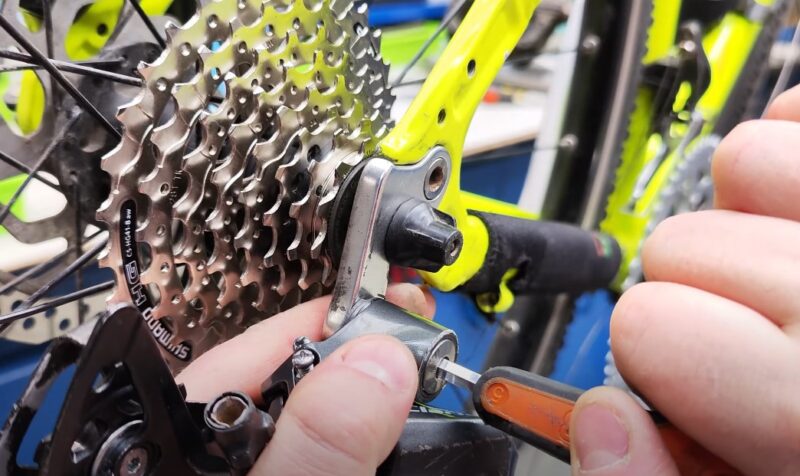
2. Set the Limit Screws
Limit screws are your first stop. They determine how far the derailleur can travel in either direction, which keeps your chain from falling off.
- High Limit Screw (H): Shift to the smallest cog at the back. Adjust the H screw until the jockey wheel (the little guide pulley) lines up perfectly with that smallest cog.
- Low Limit Screw (L): Now shift to the largest cog. Adjust the L screw until the jockey wheel is perfectly aligned with the largest cog. You want to ensure the chain stays on the cog without falling off.
3. Adjust the Cable Tension
Next up is cable tension. Shift to the middle cog on the cassette. If the chain hesitates or skips when shifting to a larger cog, the cable tension is too low.
On the flip side, if it’s jumping to a smaller cog, the tension is too high. You can fine-tune this using the barrel adjuster:
- Turn it counterclockwise to increase tension.
- Turn it clockwise to decrease tension.
4. Fine-Tuning the Indexing
Indexing is all about getting those smooth, crisp shifts. Shift through all the gears. If the chain struggles to move to a higher gear (a larger cog), you’ll need to add a bit of tension by turning the barrel adjuster counterclockwise.
If it struggles with lower gears (smaller cogs), decrease the tension by turning the barrel adjuster clockwise.
5. Adjust the B-Tension Screw
The B-tension screw is the unsung hero of derailleur adjustment. It controls the gap between the guide pulley and the cogs.
Shift to the largest cog and check the gap. Ideally, there should be a 5-6mm gap between the guide pulley and the cog. Adjust the B-tension screw until it’s just right.
Adjusting the Front Derailleur

The front derailleur isn’t too different, but there are some key points to hit for perfect shifting.
1. Set the Height and Angle
- Height: The outer plate of the front derailleur should be about 2-3mm above the tallest tooth on the largest chainring.
- Angle: Make sure the derailleur cage is parallel to the chainrings. If it’s not, your shifts will be clunky.
2. Adjust the Limit Screws
Similar to the rear derailleur, the limit screws here control how far the derailleur moves.
- Low Limit Screw (L): Shift to the smallest chainring and the smallest cog. Adjust the L screw until the derailleur cage just clears the chain.
- High Limit Screw (H): Shift to the largest chainring and largest cog. Adjust the H screw so that the derailleur cage clears the chain by just 1-2mm.
3. Fine-Tune the Cable Tension
Again, cable tension is crucial. Shift to the middle chainring and see how smooth the shifts are. Use the barrel adjuster to tweak the tension until shifting feels just right.
Troubleshooting Common Shifting Issues
Even with the best setup, things can go wrong. Here’s how to tackle some common problems:
1. Chain Drops
If your chain keeps dropping, it could be due to incorrect limit screw settings, a bent derailleur hanger, or not enough cable tension. Start by rechecking those limit screws. If the problem persists, inspect the hanger and adjust the cable tension as needed.
2. Inconsistent Shifting
Inconsistent shifting is often caused by dirty or worn-out cables, a misaligned derailleur hanger, or poor indexing. Give your cables a good cleaning, or consider replacing them if they’re frayed. Realign the hanger if necessary, and recheck the indexing.
3. Skipping Gears
Worn cassettes, chains, or poor cable tension are the usual culprits for skipping gears. If your cassette or chain is worn, it’s time for a replacement. After that, check the cable tension and make any necessary adjustments.
Maintenance Tips for Smooth Shifting
Regular maintenance is key to keeping your shifting buttery smooth.
- Keep It Clean: A clean drivetrain is a happy drivetrain. Regularly clean your chain, derailleurs, and cassette to keep things running smoothly.
- Lubricate: Don’t forget to lubricate the chain and moving parts of the derailleur. This prevents rust and reduces wear.
- Inspect Your Cables: Check the condition of your cables and housing regularly. If they’re frayed or stiff, replace them.
- Watch for Wear: Keep an eye on the wear on your chain, cassette, and chainrings. Replace them when needed to avoid shifting issues.
Wrapping It Up
Adjusting your derailleur might seem tricky at first, but once you get the hang of it, it’s a straightforward process.
Regular maintenance and careful tweaking will keep your bike shifting smoothly, making every ride more enjoyable.
The key is to make small, incremental adjustments and always test your shifting after each change. With a bit of practice, you’ll be a derailleur-adjusting pro in no time!