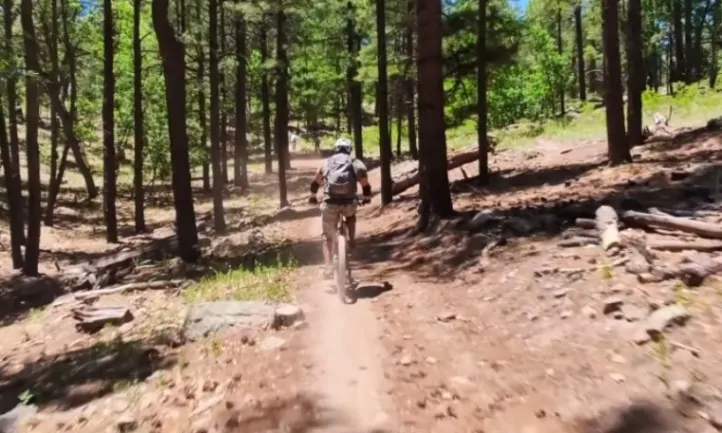
Ever been mid-ride, enjoying the flow, and then, out of nowhere, your bike chain slips? Yeah, it’s super frustrating. It doesn’t matter if you’re cruising down the street or pushing hard up a steep climb, having your chain slip can throw you off balance or even make you nervous about putting the power down.
The good news? Most chain slippage issues can be pinpointed and resolved with a little know-how. Let’s break down the most common reasons your chain might be slipping and how to get everything running smoothly again.
Table of Contents
Toggle1. Worn Chain
A bike’s chain, like all moving parts, wears out over time. The constant pressure from pedaling slowly stretches the chain.
Once it’s stretched beyond a certain point, it won’t mesh properly with the teeth of your cassette or chainring, leading to skipping or slipping, especially when you’re pedaling hard.
How to Resolve This Issue
Check your chain regularly with a chain checker tool. If the stretch is beyond 0.5% on a road bike or 0.75% on a mountain bike, it’s time for a replacement.
As a general rule, most chains last between 2,000 and 3,000 miles, but this can vary depending on how much you ride and the conditions. Replacing the chain before it’s too worn will help keep the rest of your drivetrain in good shape, too.
2. Worn Cassette or Chainrings
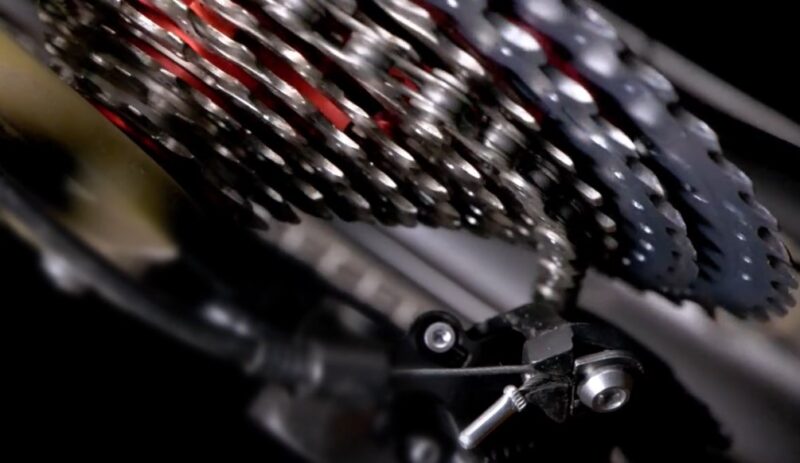
Sometimes, it’s not the chain that’s the problem—it’s the cassette or chainrings. Over time, the teeth on these components wear down, especially if the chain has been stretched for a while.
Worn teeth won’t hold the chain as well, leading to that annoying slipping sensation.
How to Resolve This Issue
Take a close look at your cassette and chainring teeth. If they’re sharp or have lost their original rounded shape, it’s time to replace them.
If you’re changing a worn chain, it’s often wise to replace the cassette, too, as they wear together.
3. Misaligned or Worn Derailleur
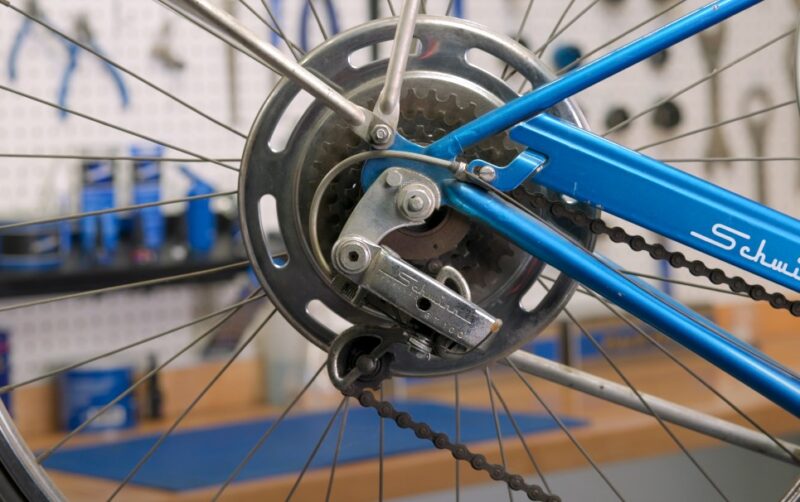
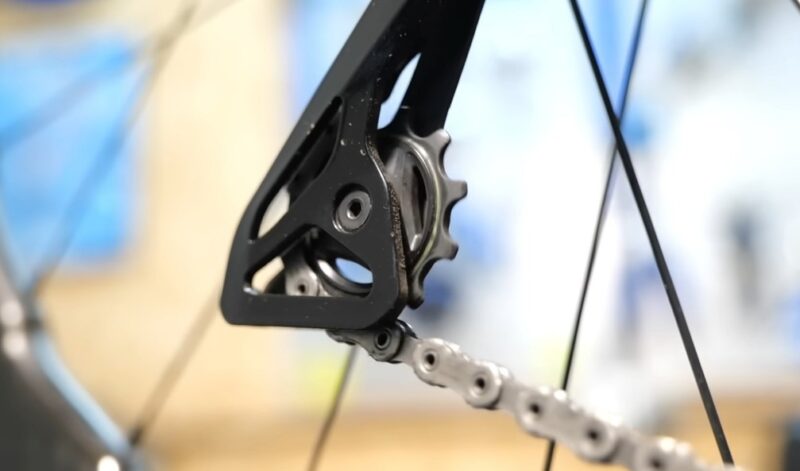
Your derailleur’s job is to keep the chain tensioned and smoothly moving between gears. If the derailleur isn’t aligned properly or the spring tension has weakened over time, the chain won’t stay where it should.
How to Resolve This Issue
Start by adjusting the derailleur with the barrel adjuster. A few turns might be all you need to fine-tune the tension and get rid of the slippage.
If it’s not improving, check if the derailleur hanger is bent, which can also cause misalignment. In some cases, a worn-out derailleur may need replacing.
4. Loose or Stretched Cables
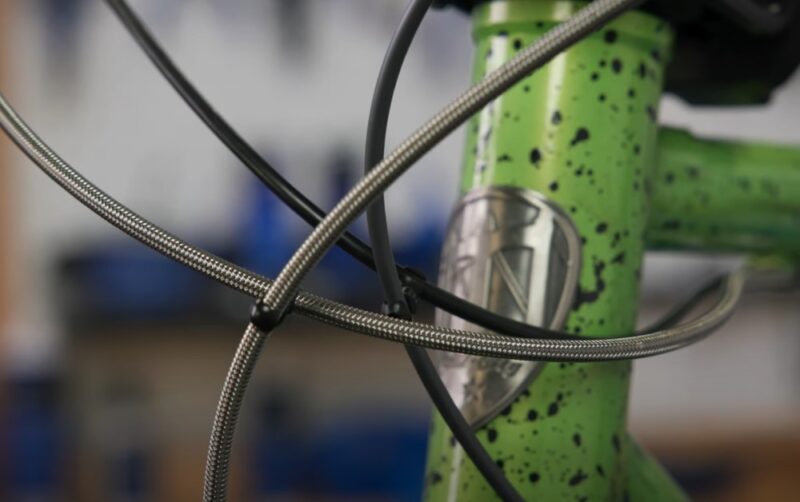
Stretched cables are another sneaky culprit of chain slipping. Over time, your gear cables can stretch, especially if the bike is new or has just had its cables replaced.
This stretching messes with the shifting and can leave your chain struggling to find its place on the next cog.
How to Resolve This Issue
Use the barrel adjuster on the derailleur or the shifter to tighten things up. If the cables are too stretched, they might need to be replaced altogether.
It’s a quick and inexpensive fix, and you’ll notice the difference in shifting performance right away.
5. Dirty or Greasy Chain
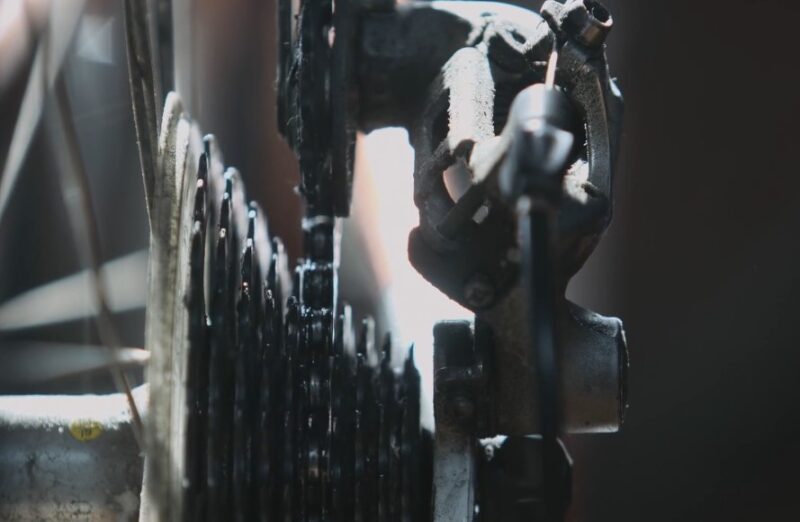
Grime build-up is a chain’s worst enemy. Dirt, old grease, and road grime can clog up the chain, preventing it from moving smoothly through the cassette and chainrings.
A dirty chain not only skips but also wears down the rest of the drivetrain quickly.
How to Resolve This Issue
Regular cleaning goes a long way. Use a bike-specific degreaser to clean off old grime, then apply fresh chain lube to keep things running smoothly. Make sure to wipe off excess lube, as too much can attract more dirt.
6. Improper Shifting Technique
Sometimes, chain slippage has nothing to do with your bike but with how you ride it.
Shifting under load (especially when climbing) or not anticipating a gear change before you need it can cause the chain to struggle.
How to Resolve This Issue
Practice smoother shifting techniques. Easing off the pedals slightly when shifting, especially on hills, will help.
Try shifting before you’re in a steep section rather than during. Your chain will engage gears better if you aren’t putting maximum pressure on it while shifting.
7. Chain Too Long
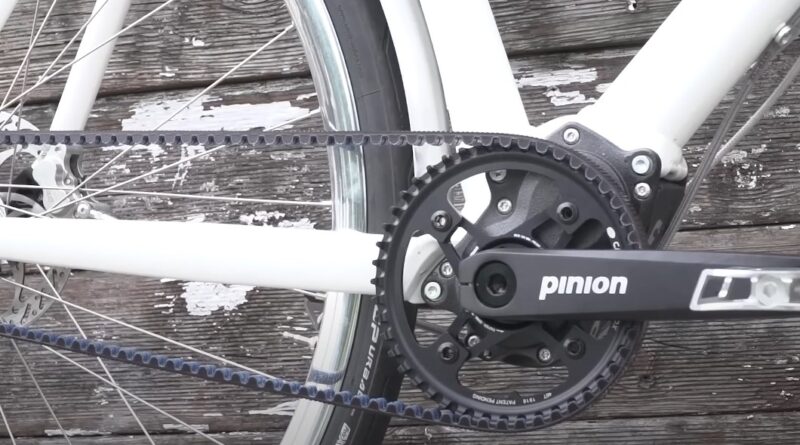
A chain that’s too long can also mess with your ride. If a replacement chain has been put on but wasn’t cut to the right length, it can cause the derailleur to fail at maintaining proper tension.
How to Resolve This Issue
Measure your chain to make sure it’s the right length for your bike. Wrap the chain around the largest chainring and the largest cog (without going through the derailleur). Add two links, and that’s your correct chain length. If your chain’s too long, removing extra links will fix the issue.
8. Bent Teeth on Chainring or Cassette
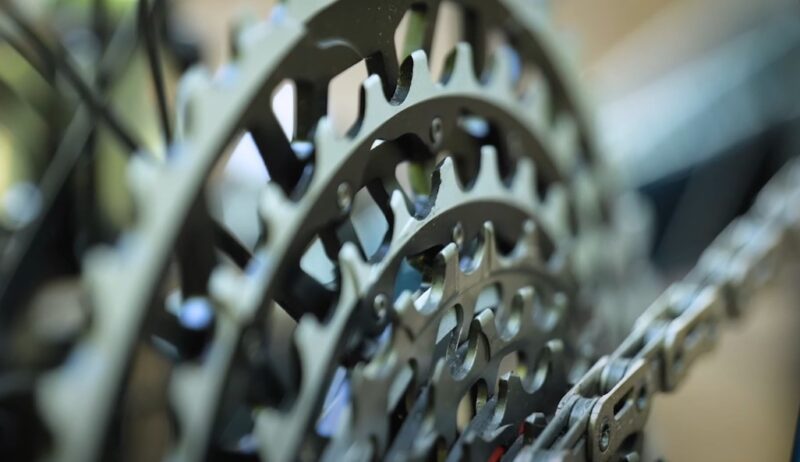
If your bike has taken a hit—say, you’ve crashed or tackled rough terrain—you might have some bent teeth on your chainring or cassette. Bent teeth prevent the chain from sitting properly, causing it to slip.
How to Resolve This Issue
Check your chainring and cassette for any bent teeth. If they’re only slightly bent, you might be able to carefully bend them back into place. However, significant damage often means replacing the affected parts to ensure a smooth ride.
9. Freehub or Freewheel Engagement Issues
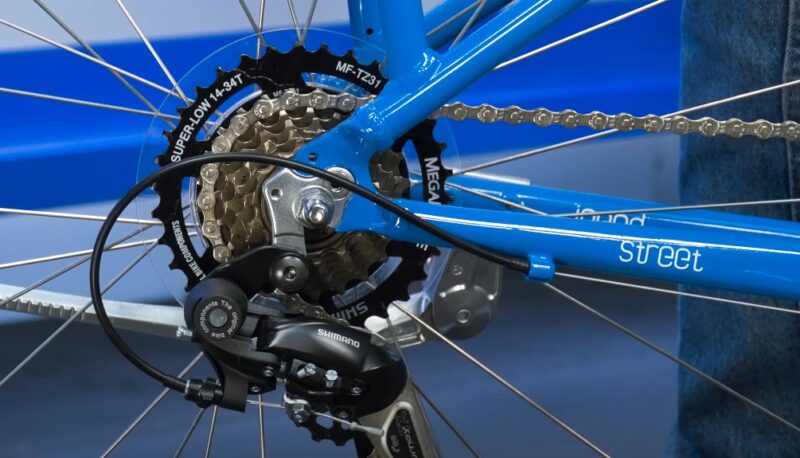
The freehub or freewheel (depending on your bike setup) is a critical part of your drivetrain. It’s the mechanism inside your rear wheel that allows the cassette to spin freely when you coast and engage when you pedal.
If it’s worn out or damaged, it can cause slippage when you try to pedal.
How to Resolve This Issue
If you suspect the freehub or freewheel is the issue, the best course of action is to have it serviced or replaced.
This isn’t typically a DIY fix unless you’re comfortable disassembling and rebuilding hubs, so heading to a local bike shop might be your best bet.
10. Insufficient Chain Lubrication
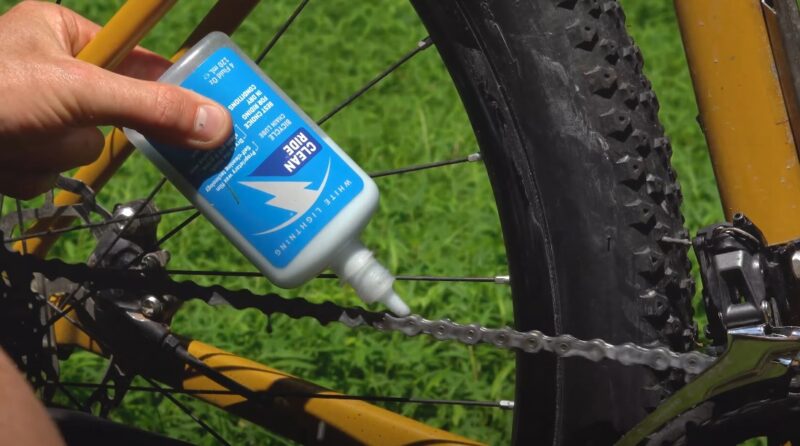
Finally, a chain needs proper lubrication to run smoothly. Too little lube causes friction, making the chain skip or wear out faster. On the flip side, too much lube attracts dirt, leading to a different set of problems.
How to Resolve This Issue
Find that sweet spot! Apply lubricant after cleaning your chain, making sure to wipe off any excess to avoid gunk buildup.
How often you should lube your chain depends on your riding conditions. After a wet or muddy ride? Definitely clean and relube. Dry, dusty rides? Less frequent maintenance is required.
Keeping Things Smooth
Chain slipping can turn an otherwise great ride into a frustrating experience, but thankfully, it’s something that can usually be fixed pretty easily.
Regular maintenance—cleaning, lubing, and keeping an eye on your drivetrain—will go a long way in preventing slippage. And when your bike is running smoothly, you’ll notice the difference in every pedal stroke.
Related Posts:
- 7 Reasons Bicycle Chains Break (And How to Fix It)
- 8 Reasons to Take Up Cycling - How Bike Riding Can…
- 12 Reasons a Fat Tire Bike Is Perfect for Winter Riding
- 5 Bike Chain Lube Alternatives (And If You Should Use Them)
- How to Select the Best Road Bike Tires for Your…
- How to Find the Best E-Bike for You - A Beginner’s…

