
Looking to level up your cycling game with some aero bars? If you’re aiming to shave off precious minutes during a triathlon or simply enjoy a more streamlined ride, installing and adjusting aero bars on your bike can make a big difference.
Let me guide you through the process, step by step, to help you get the most out of your new setup.
What You’ll Need

Before we start discussing the installation, it’s important to gather the right tools and make sure your bike is prepped and ready.
Tools You’ll Need
- Allen wrenches: Usually 4mm and 5mm, depending on your aero bars.
- Grease or anti-seize compound: To prevent the bolts from seizing.
- Torque wrench: Ensures bolts are tightened to the correct specifications.
- Aero bars: The ones you’ve chosen for your bike.
Start by checking your handlebars for any signs of damage or wear. Aero bars need a solid foundation, so if your handlebars are cracked or compromised, it’s best to address that first.
Choosing the Right Aero Bars
Aero bars come in different shapes and sizes, and picking the right one is key to a successful setup. The most common type is the clip-on aero bar, which can be attached to most standard road bike handlebars.
Factors to Consider
- Type of Riding: Are you training for a triathlon or just want to go faster on your regular rides?
- Bike Geometry: Make sure the aero bars fit well with your bike’s design.
- Flexibility: Your own flexibility will determine how low you can comfortably go in the aero position.
Clip-on aero bars offer great versatility, as they can be easily removed when not in use. If you’re not ready to commit full-time to the aero position, clip-ons are the way to go.
My Top 3 Recommendations
1. Zipp Vuka Clip Aerobars
The Zipp Vuka Clip Aerobars are known for their exceptional adjustability and lightweight design, making them a favorite among triathletes.
These clip-on aero bars offer a wide range of adjustments in both width and angle, allowing cyclists to fine-tune their riding position for optimal aerodynamics and comfort.
The Vuka Clip is compatible with a variety of extension shapes and lengths, so that it can be tailored to individual preferences.
2. Profile Design Sonic Ergo 35A Aerobars
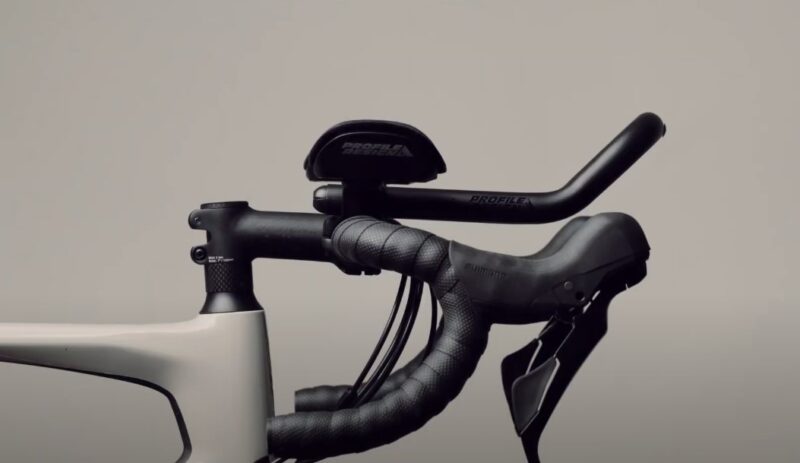
The Profile Design Sonic Ergo 35A is praised for its ergonomic design, providing a comfortable armrest and a natural grip for long-distance cycling.
These aero bars feature a curved extension that reduces wrist strain, making them ideal for endurance events.
The Sonic Ergo system is also highly adjustable, allowing for precise positioning to match the rider’s unique body geometry and riding style.
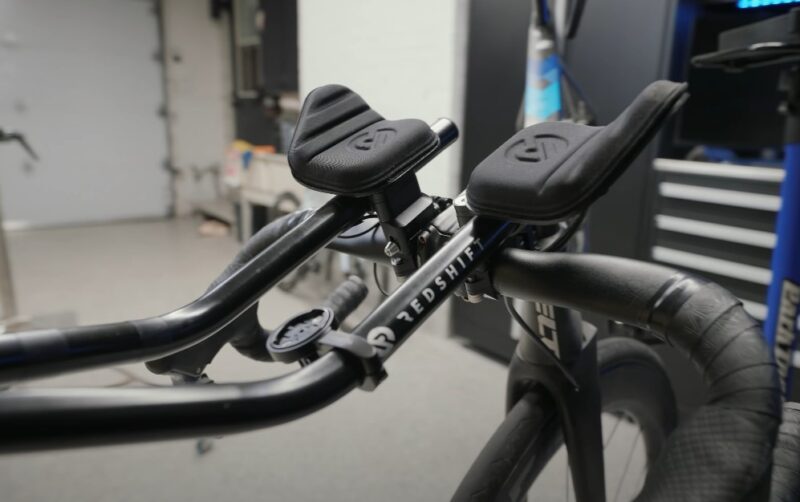
3. Redshift Quick-Release Aerobars
The Redshift Quick-Release Aerobars stand out for their innovative quick-release mechanism, which allows cyclists to easily attach and detach the aero bars without tools.
This feature makes them perfect for riders who switch between aero and non-aero setups frequently.
Despite their convenience, these aero bars do not compromise on stability or performance, offering a solid and reliable experience on the road.
Positioning the Aero Bars
Now that you’ve chosen your aero bars, positioning them correctly is the next step. Proper positioning is essential for comfort and efficiency.
Elbow Placement
The elbow pads should sit slightly wider than your hips. This provides stability while riding and helps maintain a straight, aerodynamic posture.
Bar Length
Adjust the length of the aero bars so that your hands rest just ahead of the brake hoods when you’re in the aero position.
This prevents overstretching and ensures that you can quickly shift back to the regular handlebars if needed.
Installing the Aero Bars
With everything ready, it’s time to get those aero bars on your bike. Follow these steps for a smooth installation:
Step 1: Prepare the Handlebars
Remove any accessories like lights or computer mounts from the handlebars. Clean the bars thoroughly to ensure a secure fit for the aero bars.
Step 2: Grease the Bolts
Apply a small amount of grease or anti-seize compound to the bolts of the aero bars. This simple step makes future adjustments easier and prevents bolts from getting stuck.
Step 3: Attach the Aero Bars
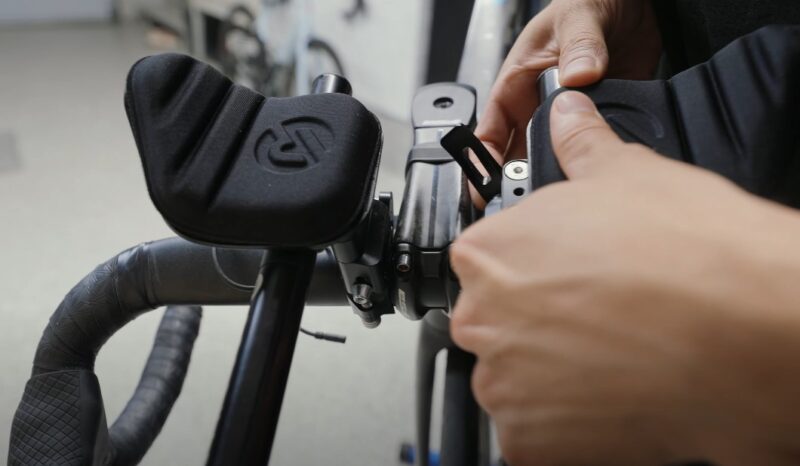
Position the aero bars on the handlebar. Most clip-on aero bars attach to the flat part of the handlebars.
Tighten the bolts enough to hold the bars in place, but don’t fully secure them yet—you’ll want to make some adjustments first.
Step 4: Align the Aero Bars
Make sure the bars are aligned evenly. Uneven bars can cause discomfort and put unnecessary strain on your wrists and shoulders.
Step 5: Final Tightening
Once you’re happy with the alignment, use a torque wrench to tighten the bolts according to the manufacturer’s recommended torque settings.
It’s crucial not to over-tighten or under-tighten, as either can lead to problems down the road.
Fine-Tuning Your Position

After the initial installation, it’s time to fine-tune your setup for maximum comfort and performance.
Adjustments to Consider
- Elbow Pad Height: Some aero bars allow you to adjust the height of the elbow pads. Experiment with different heights to reduce strain on your shoulders and back.
- Bar Tilt: Adjust the tilt of the bars so your wrists are in a neutral position when you’re in the aero tuck. This helps prevent wrist fatigue during longer rides, and you could experience bonking much earlier in the race..
- Arm Extension: Your arms should have a slight bend at the elbows when you’re in the aero position. Straight arms can cause discomfort and reduce your control over the bike.
Testing the Setup
Once you’ve made all the necessary adjustments, it’s time to take your new setup for a spin. Start in a safe environment like a parking lot or a quiet road to get a feel for the new position.
Key Points to Check
- Comfort: Can you maintain the aero position comfortably for the duration of your ride?
- Visibility: Make sure you have a clear line of sight when in the aero position. If not, adjust the angle of the bars.
- Control: Practice switching between the aero bars and regular handlebars. You want to be able to do this smoothly and safely.
Final Adjustments and Maintenance
After a few rides, you might find the need to make further adjustments as your body gets used to the new position. It’s important to keep an eye on the setup to ensure everything stays in place and functions as expected.
Maintenance Tips
- Periodic Checks: Regularly check the alignment and tightness of the aero bars, especially before races or long rides.
- Cleanliness: Keep the bars and elbow pads clean. Sweat and dirt can accumulate, leading to corrosion or discomfort.
- Elbow Pad Replacement: Over time, the elbow pads may wear out and need replacement. Keep an eye on them and replace them when necessary.
Balancing Aerodynamics and Comfort

One of the biggest challenges with aero bars is finding the right balance between aerodynamics and comfort. It might be tempting to go for the lowest, most aggressive position possible, but if it compromises your comfort, it’s not worth it.
If you’re struggling to find that balance, or if you’re experiencing discomfort, consider getting a professional bike fit. A bike fitter can help optimize your position for both comfort and performance, ensuring you’re getting the most out of your aero bars. Also, pick a bike that is not too big.
Practice Makes Perfect
Riding with aero bars can feel awkward at first, especially if you’re not used to the more aggressive position. Start with short rides and gradually increase the duration as you become more comfortable.
Over time, your body will adapt, and you’ll find yourself enjoying the benefits of a more aerodynamic position.
Final Thoughts
Installing and adjusting aero bars might seem like a small change, but it can have a big impact on your riding experience. By following the steps outlined above, you’ll be well on your way to enjoying a faster, more efficient ride.
Keep in mind that regular maintenance and fine-tuning are key to staying comfortable and maximizing the benefits of your aero bars.