A good bike tire patch, when applied right, can last just as long as the tube. Seriously, a well-prepped and properly stuck patch can give you confidence on your rides. On the flip side, those pre-glued patches? They don’t last as long—maybe just a few months.
So, when should you throw out that patched tube? If it’s failing repeatedly or you have patches all over the place, it’s time to get a new tube. Rubber cement is awesome for securing patches, and it usually dries in about 10 minutes, giving you a solid fix.
Average Lifespan of a Patched Tire
- Patch Quality and Application: A high-quality patch that is correctly applied can last as long as the remaining life of the inner tube. Poor application of the patch, however, can lead to quick failure. Ensure that the area around the puncture is clean and free of debris before applying the patch for maximum effectiveness.
- Type of Adhesive: Different adhesives have varying drying times and bonding strengths. For example, rubber cement takes approximately 10 minutes to dry, providing a robust seal. Other adhesives like Gorilla glue can set in about 2 minutes while quick-setting epoxy might take 4-6 minutes. The choice of adhesive can impact how well and how long the patch will hold.
- Riding Conditions: Frequent riding on rough terrains or at high speeds can place additional stress on the patched area. Patches tend to perform better and last longer under moderate use on smoother surfaces. If you often ride in harsh conditions, you may find that patches fail sooner.
- Tube Condition: The condition and age of the inner tube play a significant role in the patch’s lifespan. An older inner tube might have more wear and could be more prone to leaks and additional punctures. Typically, a new or well-maintained tube will offer a better base for a patch.
When to Replace
Signs of Patch Failure
Look for visible damage around the patch area, such as peeling or lifting edges. Bubbles or blisters forming under the patch indicate air leakage. If you notice the patch has shifted or moved from its original position, it is another clear sign of failure.
Repeated flats in the same spot often signal that the patch is not holding up. Additionally, any signs of cracking or dryness in the tube material around the patch suggest it’s time for a replacement.
Performance Assessment
Pay attention to how your bike handles. If you feel noticeable inconsistencies or vibrations during rides, it could be due to an ineffective patch. Loss of air pressure more frequently than usual is a strong indication that the patch is failing.
Evaluate how well the tube holds air over time. If it is unable to maintain steady air pressure or requires frequent pumping, a replacement is warranted. A patched tube that affects your riding comfort or reliability should not be trusted for long-term use.
Types of Bike Tire Patches
Glue Patches
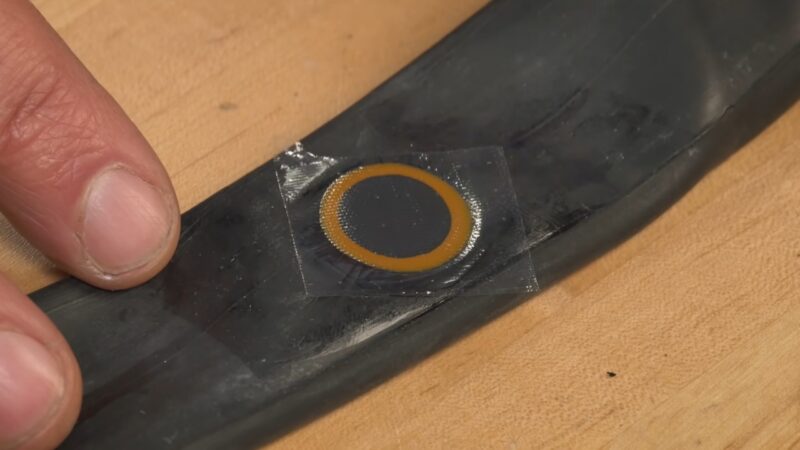
Glue patches involve using adhesive to bond the patch to the tire. They generally offer robust and long-lasting repair. It often takes about 10 minutes for a glue patch to apply properly. These patches can last as long as the tire itself if done correctly. Glue patches are ideal for durable, long-term repairs.
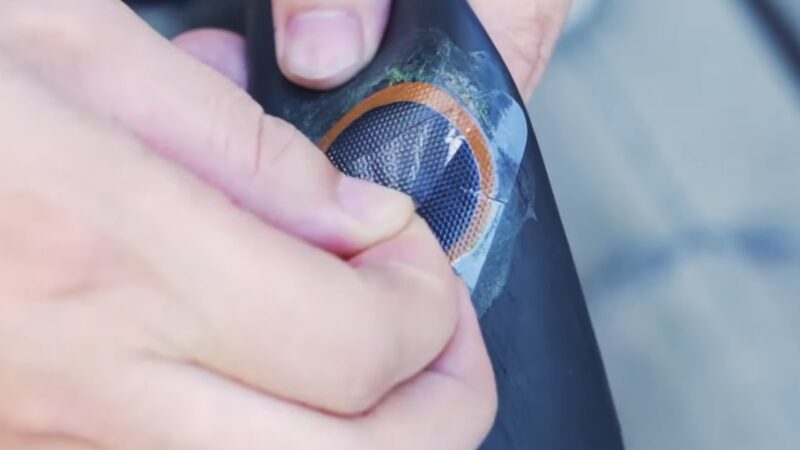
Glueless Patches
Glueless patches are convenient for quick fixes. They come with a pre-applied adhesive that allows for easy application. While they don’t last as long as glue patches, they are perfect for temporary repairs. You might need to replace these patches within a few months to a year.
Both types of patches have their pros and cons, and choosing the right one depends on your specific needs.
How Bike Tire Patches Work
Locating the Leak
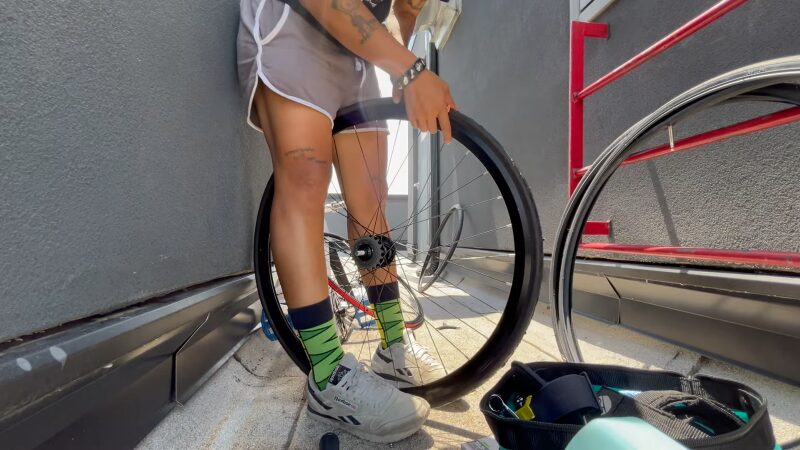
To start, you need to locate the puncture on the inner tube. Remove the wheel and inspect the tube for visible punctures. Look for any foreign objects like thorns or glass that might be lodged in the tire.
Applying the Patch
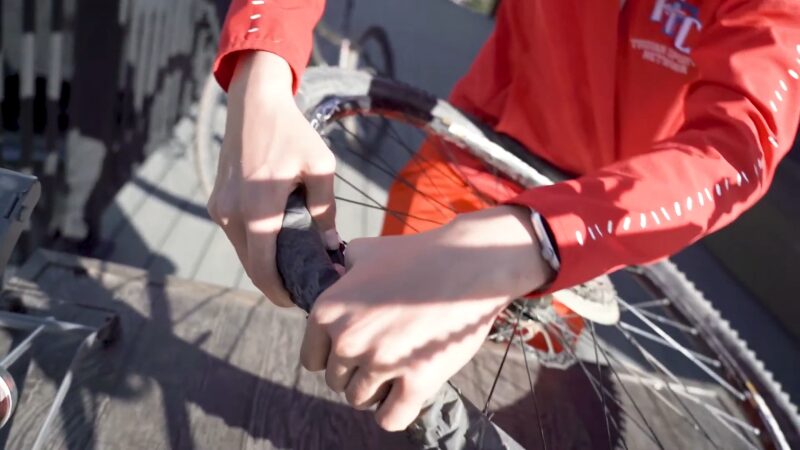
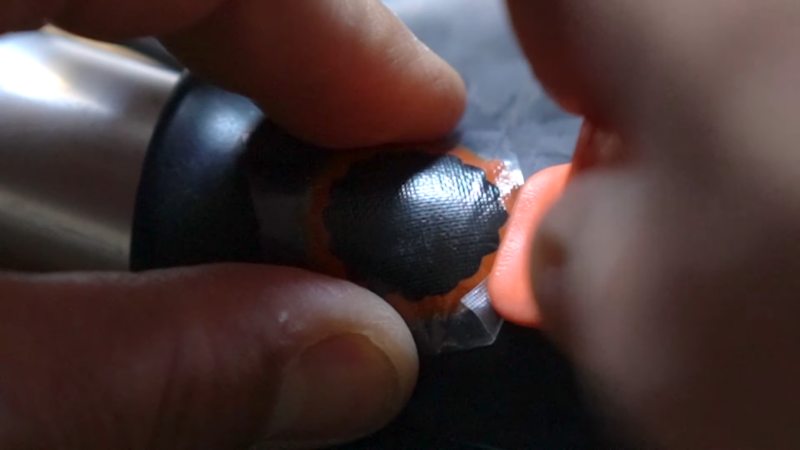
After finding the leak, roughen the area around it to ensure better adhesion. If you are using a glue patch, apply rubber cement and let it dry for a few minutes before applying the patch. For glueless patches, simply peel off the backing and press firmly onto the puncture.
Drying and Testing
Let the patch dry as per the instructions. For glue patches, this usually means waiting about 10 minutes. While you’re waiting, it’s a good idea to review how to select the best road bike tires for your needs, as having the right tires can prevent future punctures.
After the patch is in place, inflate the tube and check for any further air leaks before reinstalling it in the tire.
Following these steps will ensure that your tire patch holds up and provides a reliable solution for your punctured tires.